Skip to content

Posts from the ‘Appetizers & Small Bites’ Category

what? another take on hummus?

We have this favorite little Japanese maple out back. This past week, its finely pointed leaves began to wave then drop in sweet clusters of beet red.

It was quite impossible to say no to the urge that hit me…so,  with that…Wegetable Vednesday makes a comeback!

BeetBelugaLentilHummus-8

With the crimson and scarlet, burnt orange, rust and gingko gold of fall flying,  suddenly I craved the taste of color.

BeetBelugaLentilHummus-1

I’m in school and everything I do in the  kitchen for months will need to be simple. So, for a while simple is all I have to offer you.

…and a hope and a toast to your very good health!

__________

(Though the following recipe calls for black beluga lentils, they may be somewhat difficult to find. You can order on line if you like, or substitute with small, dark green Puy Lentils. Both these varieties will make a more luxuriously textured and  dramatically colored hummus.)

_______

Red Beet & (Black Beluga) Lentil Hummus

 Black  Beluga Lentils, rinsed – ½ cup

2 medium Beets or 3 small – peeled and cut into chunks

garlic – 2 cloves, peeled

Tahini Paste – 2 Tablespoons

Olive Oil – 2 Tablespoons

Fresh Lemon Juice – 2 Tablespoons

Lemon Zest – 2 teaspoons grated (minimum)

sea salt – 1 teaspoon (to start)

__________

NOTE: Sometimes lentils off the shelf are rather old and will benefit from a little soaking. Nothing extravagant here, but it wouldn’t hurt to allow them to soak an hour or two before draining and cooking. If your package says no need to soak, then no need to soak.)

BeetBelugaLentilHummus-13

Rinse the lentils and add to a medium size pot. Peel the beets and cut into chunks about 1½ inches in size. Add to the pot with the lentils and add 1 cup of water. Bring to boil and reduce temperature to simmer. The beets should be fork tender and the lentils soft when done.  (About 20 minutes or so.) Read more

Hummus – stuffing our pockets

Hummus was one of the first things I learned to make as a 20-something year old bent on eating well, while not making life difficult on relatives of cows I’d grown to love as a girl. The hummus of those days has morphed a number of times over, as we ourselves tend to do.

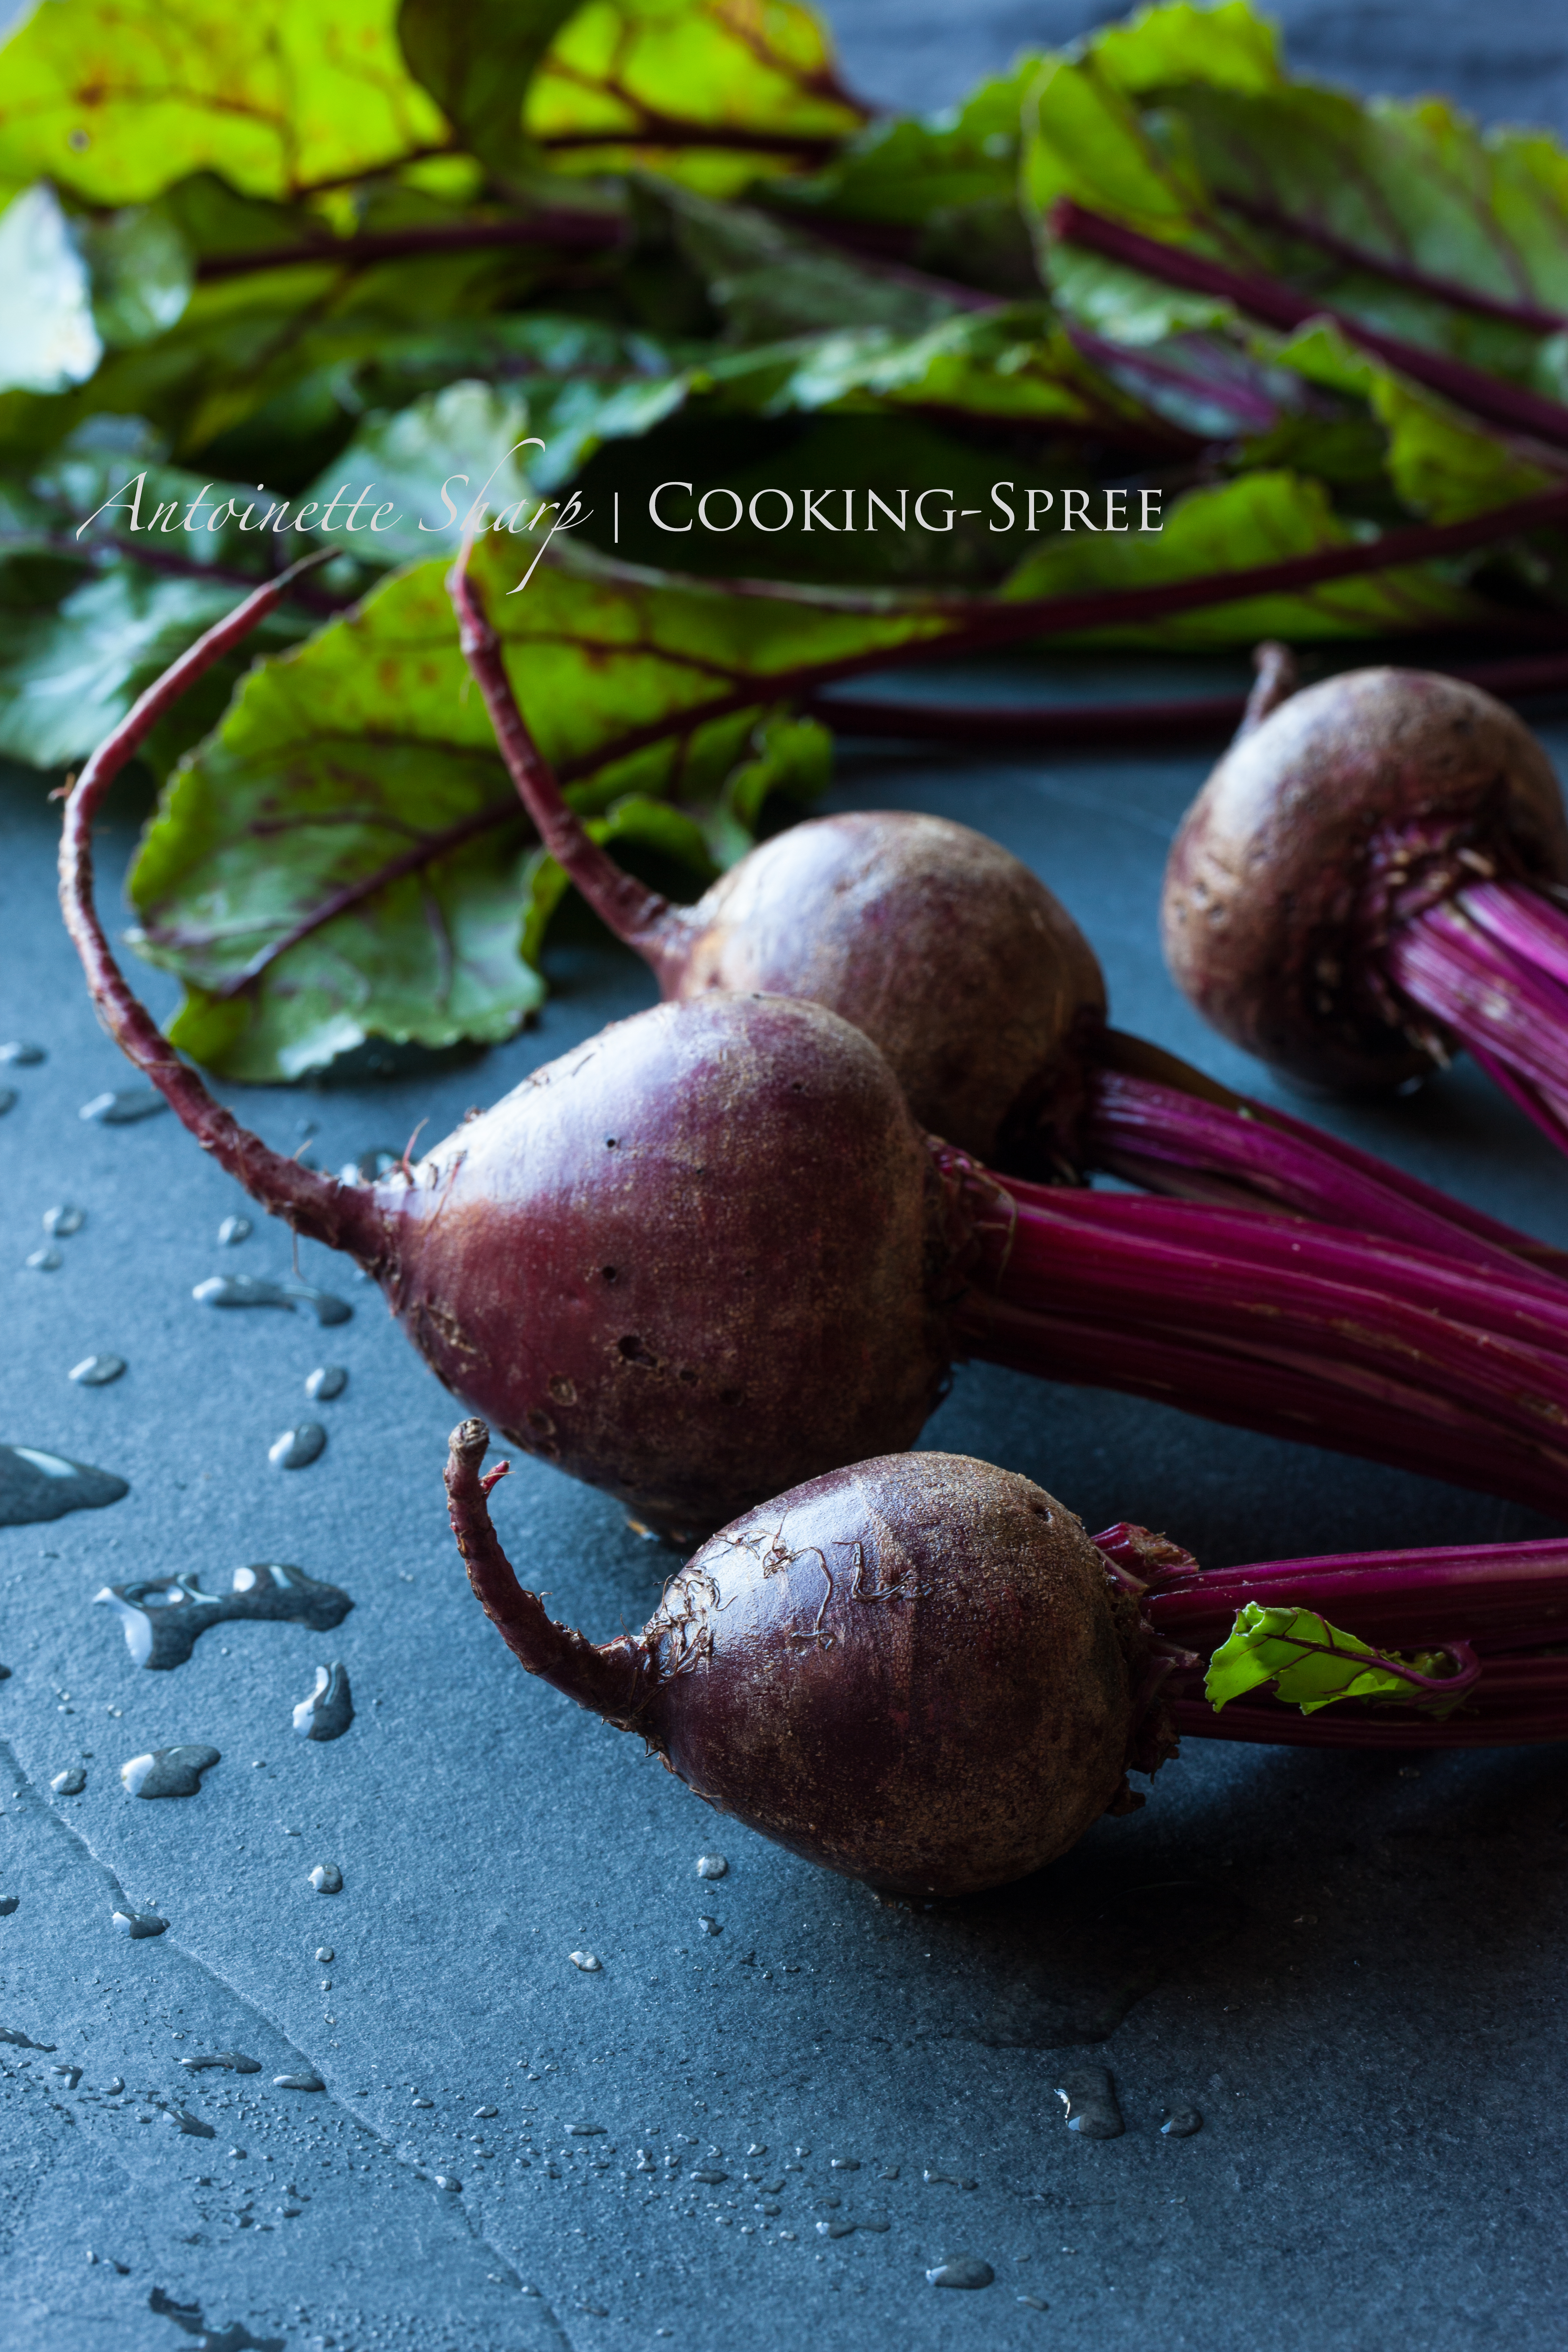
Back then I used canned chickpeas. I prefer to cook my own these days, but I’d much rather use canned chickpeas than face the dreadful plight of hummus-lessness when the mood for hummus-in-a-hurry strikes. I’m not at all a fanatic about cooking my own and  always have canned chickpeas on hand. BUT, I do think home-cooked beans are noticably better-textured and flavored and if you want to consider giving it a gohere are some reasons why you might consider it too –

You’ll cook them with no preservatives, no gross amounts of salt in the canning liquid – (though not all canned beans come loaded this way.) You can use some of your own cooking liquid to puree in with the beans. (Much better than plain water.) I won’t use the liquid if they’re canned. A batch of your own fresh-cooked chickpeas is a fraction of the cost of canned. There’s less to throw away (or recycle.) And then, there’s the taste.

One of the changes to my hummus has come about quite recently – only since developing a mad crush on Ottolenghi (I mean, his recipes!) It would seem that the skins of the chickpeas, even when the beans are cooked to softness, retain a bit of their toughness unless measures are taken to further soften them. Ottolenghi adds baking soda to both the soaking water, and then again to the cooking pot. This addition and sufficient cooking time are  probably THE keys to THE creamiest, most velvety hummus your mouth will ever taste. I’d like to compare it to ambrosia’s savory cousin, but having never tasted ambrosia…Anyway…

Another measure which I’ve read about recently – in several places – seems awfully tedious at first. – but perhaps especially in the case when canned beans are used, worth the extra effort. You squeeze each and every little chickpea between thumb and forefinger, easily slipping them out of their filmy skins. This happens all the more easily with the addition of baking soda to the cooking water. (It’s as if they were itching to shed them, and you came along, right place, right time.) What’s left, once these naked beans are pureed with garlic and fresh lemon juice and tahini (the “butter” of sesame seeds”) is exquisitely smooth.

________________

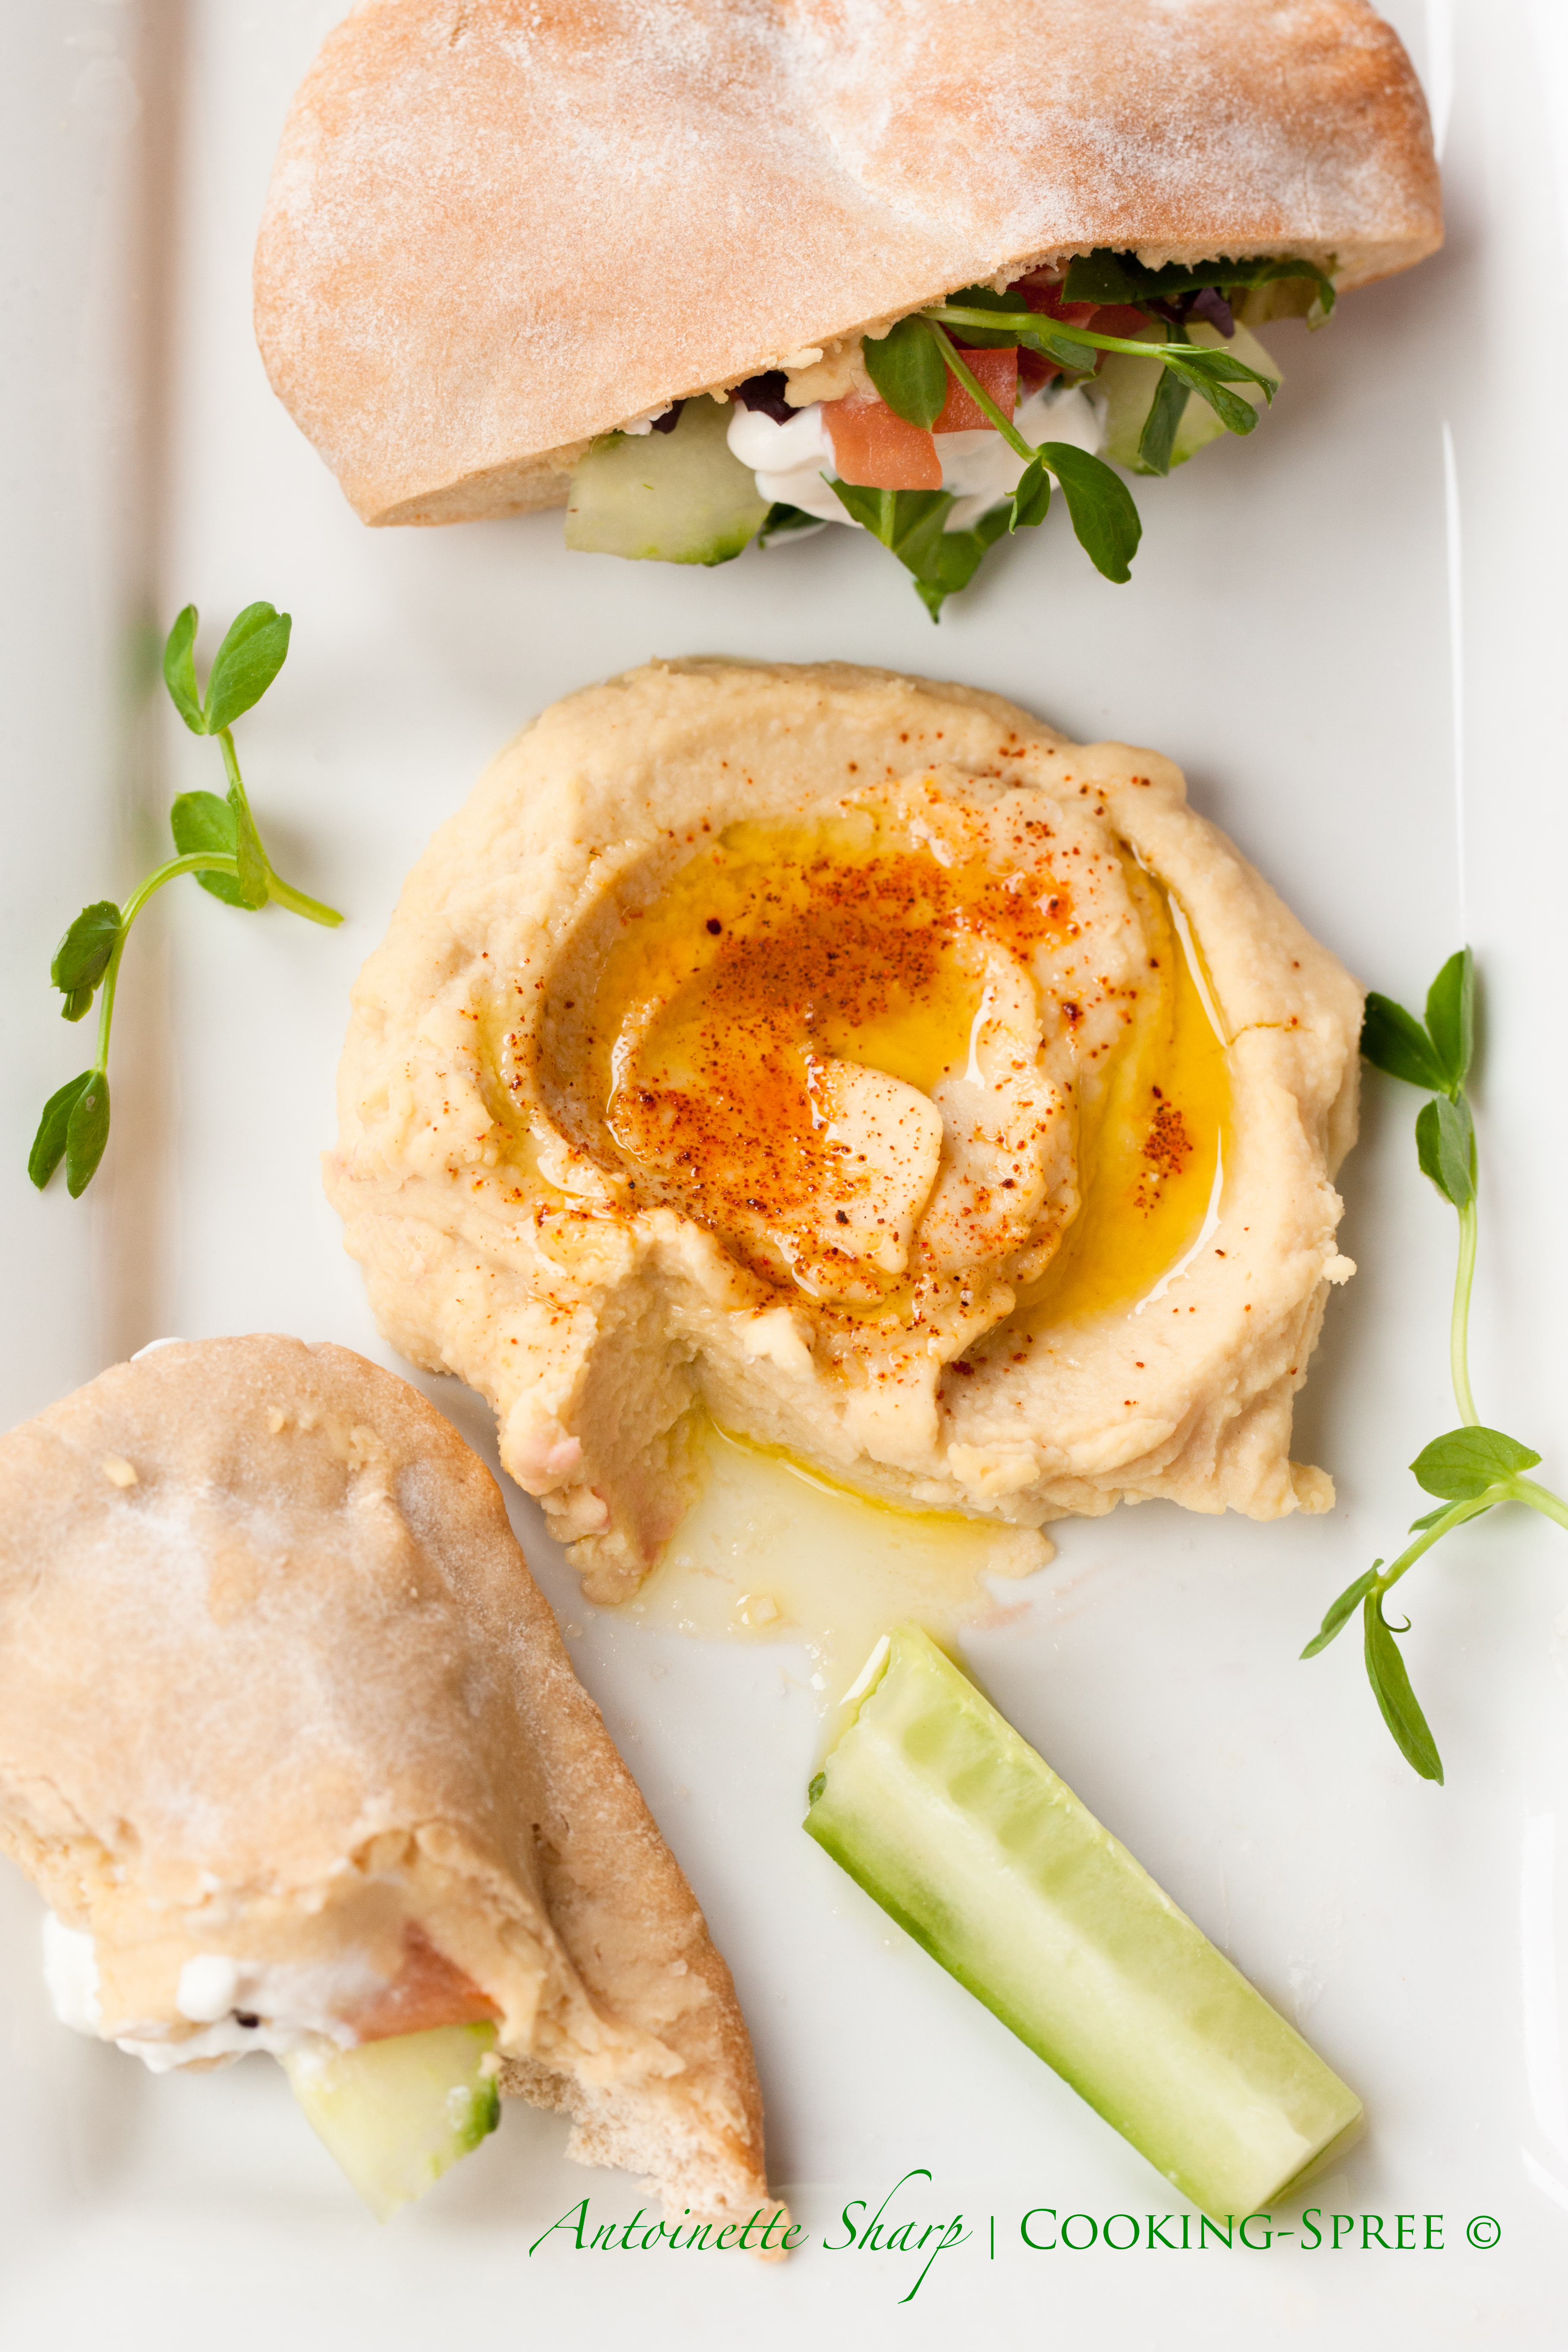
The pita-pocket sandwich is just about whatever you’d like it to be. What I’d like it to be goes something like this:

Home-baked pita, sliced in half. A good slathering of lemony hummus, topped with thinly-sliced tomatoes and English cucumbers (the kind with the very small seeds); perhaps some sprouts or pea-shoots or micro-greens; maybe some delicate leaves of Spring lettuce, or any other lettuce shredded; perhaps some shredded carrot; a little feta; thin slices of red onion; perhaps some marinated & grilled kabobs of fish or chicken (or you decide); definitely some Greek-style yogurt or tzatziki. And maybe an extra drizzle of olive oil. And because each half is fairly small and because life comes with SO many choices, and choosing is sometimes very hard, make them every which way.

PitaHummus-3

But DO start with the hummus:
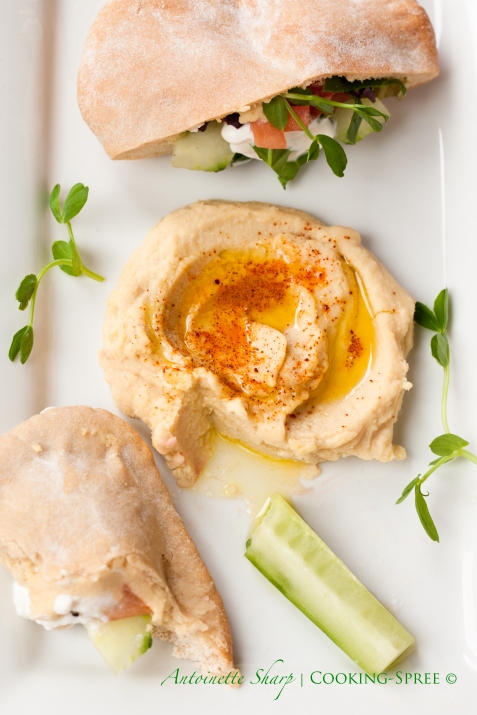
PitaHummus-2

The Hummus

_______

1¼ cups dried chickpeas, soaked in cold water overnight (See NOTE)

1½ teaspoon bicarbonate of soda (baking soda)

Juice of 2 to 2½ lemons, or to taste

2 or 3 cloves garlic, crushed

salt to taste

4 – 5 Tablespoons tahini (sesame paste)

a pinch (or several) of ground cumin

extra virgin olive oil

_____

OPTIONAL: see below for optional garnishes & serving suggestions

Hummus becomes a personal thing over the years. You find what you like – more garlicky or lemony, or less? – more tahini, less tahini? – more herbs or none at all? It pays to taste a little as you go. Taste your tahini before you start. Is it bitter? Then go with far less than what’s shown above. (I ruined a batch once with tahini far different than what I was used to.) Add most of the lemon and 2 cloves of garlic to start. It won’t be the right consistency yet, but Taste. If it’s tasting about right, don’t add the rest until closer to the end if at all. You’ll develop your own perfect proportions. With that out of the way, here’s the method –

NOTE: 1¼ cups dried chickpeas will equal about 3¾ cups cooked – if you use canned chickpeas you can give them a little extra cooking time in fresh water to soften them further, and then if you like, remove the skins from them as well.

_____

Read more

Hummus – revisited

My daughter Ashley and I laughed the other day about one of her childhood memories. She remembers gazing into the refrigerator, many more times than once, standing there long enough to get goosebumps, and concluding: there’s nothing, absolutely nothing, to eat here!  She said  that the only things we always had in the fridge were lemons and eggs. And though we had a genuine laugh over this the other day, I’m seeing the refrigerator through my little daughter’s eyes now and it’s something I so wish I could do over! It’s not that the refrigerator was near-empty. Aside from the fruit in the crisper though, it was never a storehouse of delights and ready-to-eats. I didn’t see it at the time, but I do now: our refrigerator was not a kid-friendly place.  It wasn’t that there was nothing to eat in there, but that just about everything required a Mama to put it together. Grocery shopping was for me one of those things I’d procrastinate over. I think that reluctance to shop made me more resourceful in the kitchen; but it didn’t make it easy on my girls. Neither did the fact that I didn’t buy junk food. About the time Ashley would sink her head though, sigh and walk away from the refrigerator, I’d jump to.  I’d become a dervish, and pulling things from the pantry and the refrigerator (things she hadn’t recognized as real food – and probably no kid would have) I’d manage to concoct something colorful and nummy…most of the time. I always tried to put love on the table…but I’m wishing now I’d put a little more of it in the fridge, within reach of my kids’ little hands.

I’ve learned and grown some since then (though I still always have  those eggs and lemons.) Like everyone, I have some stand-bys that, when the refrigerator begins to yawn, I employ. One of our favorites is hummus. Why? you ask. The first and best reason is simply that we really like it, a lot! But there’s another good reason (and you’ve already guessed it haven’t you!)  I always have on hand what it takes  to make it.  What can we do with hummus? A generous scoop on the plate, a crater in the middle, a good drizzle of olive oil. Whole-grain crackers or pita. A hard-cooked egg (clever, huh?), or maybe paired with some leftovers from the night before. A beautiful green salad, a little wedge of good cheese, a few olives, a glass of wine. No one complains. It’s what we do at our house when the cupboard is bare.

As good as hummus can be as part of a vegetarian meal, it’s also good as part of a vegetable appetizer; or with fish, or kebobs, or as a spread in a vegetarian sandwich.  I’m saving what I like best about hummus for last though. It ‘s a dip-able, scoop-able, ready-to-eat-able bowlful that kids know JUST what to do with. (What’s more, it’s the perfect consistency for drawing smily-faces.)

Read more

Spicy Candied Pecans (or Walnuts)

Here’s another one of the appetizers served at our Beat the Winter Blues Party .  I’ve tried a number of recipes for candied nuts over the years, but my favorite is this.  (Judging from responses to these sweet and savory bites, I’m not alone.) I’ve made it with both pecans and walnuts, and though I love walnuts, pecans definitely have the edge here – something about their sweetness offset by the savory heat of the spices is just right.

Spicy Candied Pecans

Preheat oven to 350°F.

  • 4 cups pecans

Spread the nuts in a shallow pan (either a broiler pan or a jelly roll pan will do.)  Roast for 8 minutes.

Remove from the oven and drizzle on to the hot nuts…

  • 1/4 cup maple syrup (grade B is darker and has a bit more maple-y flavor)
  • 1/4 cup brown rice syrup

Stir to coat well, and then pop them back into the oven to roast another 10 minutes.

While the nuts are roasting, in a small bowl mix together:

  • 2 T. sugar
  • 1 t. ground cumin
  • 1/2 t. chili powder
  • 1 t. salt (or 1-1/2 if using Kosher)
  • 2 t. paprika
  • 1/8 t. (to as much as 1/4 t.) cayenne pepper

Place a piece of parchment paper on the counter and wait – (have you noticed that smell in your kitchen? ah!) When the nuts come out of the oven for the second time, quickly sprinkle the spices over them and mix well to coat.  Quickly spread the candied nuts onto the parchment paper to cool, breaking the clumps apart with your fingers when they’re just cooled down enough to touch.  Store airtight. (These make a nice gift too, in a pretty container or vintage jar.)

Serving suggestions:  These are absolutely wonderful in a salad.  I’ll give a favorite salad to utilize these nuts in an upcoming post.  You can chop them up and roll a log of chevre over them and serve with crackers or crusty baguette.  Or chopped and scattered over green beans or yams or – .  And always as they are, straight from the jar, with nothing but your fingers.

This recipe came by way of my dear friend Carolyn, and to her, from another friend. That’s the way it goes with good eats.  The original recipe called for corn syrup.  I’ve replaced it with brown rice syrup, and not only is their taste improved (yes, hard to believe), but they’re crunchier and healthier too!

~ ~ ~

For a printer-friendly version of this recipe, click here

~ ~ ~

Marinated Olives

My husband and I had a “Beat Them Winter Blues” party over the weekend, with about 25 or so guests. We’re thinking it might be the first of a string of annual winter blasts. We had just way too much fun, and of course we ate too much, but we went into it knowing full well we would, and we feel no shame whatsoever! Over the next several posts I’ll be sharing recipes from that night’s menu. We begin with — as my Greek YaYa would say — the Oliv-ess. These little beauties received deep moans and sighs of appreciation, so you might just want to try them yourself. The recipe is not my own, so it’s fine if I brag (right?) – I think they’re one of the tastiest plump little olive bites I’ve ever popped in my mouth. The recipe comes from Giada de Laurentiis’ Everyday Italian. Graci, Giada!

Marinated Olives

  • 3 T. Olive oil
  • 1 T. grated lemon zest (from about 2 lemons)
  • 1/2 t. dried crushed red pepper flakes
  • 1-1/2 cups cracked green olives or other green olives – with their pits –  (see NOTE)
  • 1-1/2 cups Kalamata olives – with pits – (truly a combination of any olives you’re fond of will work here)
  • 3 T. fresh lemon juice
  • 2 T. chopped fresh basil

NOTE: About the olives. On this occasion I was unable to find cracked green olives, so chose the green olives with the least added herbs and spices, and then I rinsed them off and rolled them in paper towels before proceeding.

In a medium size, heavy skillet, warm the oil, lemon zest, and red pepper flakes over medium heat for about a minute, just until fragrant. Remove the pan from the heat and stir in the olives.  Add the fresh lemon juice and basil, and toss to coat.  Transfer the olive mixture to a container, cover and refrigerate. Over the next 12 hours, stir from time to time, allowing the olives to soak up these lovely, bright Mediterranean flavors.

Before serving, allow the olives to return to room temperature, stirring occasionally. Put in a pretty little bowl and watch them fly out.

For a printer-friendly version of this recipe, click here

~ ~ ~