Skip to content

Posts tagged ‘food photographer’

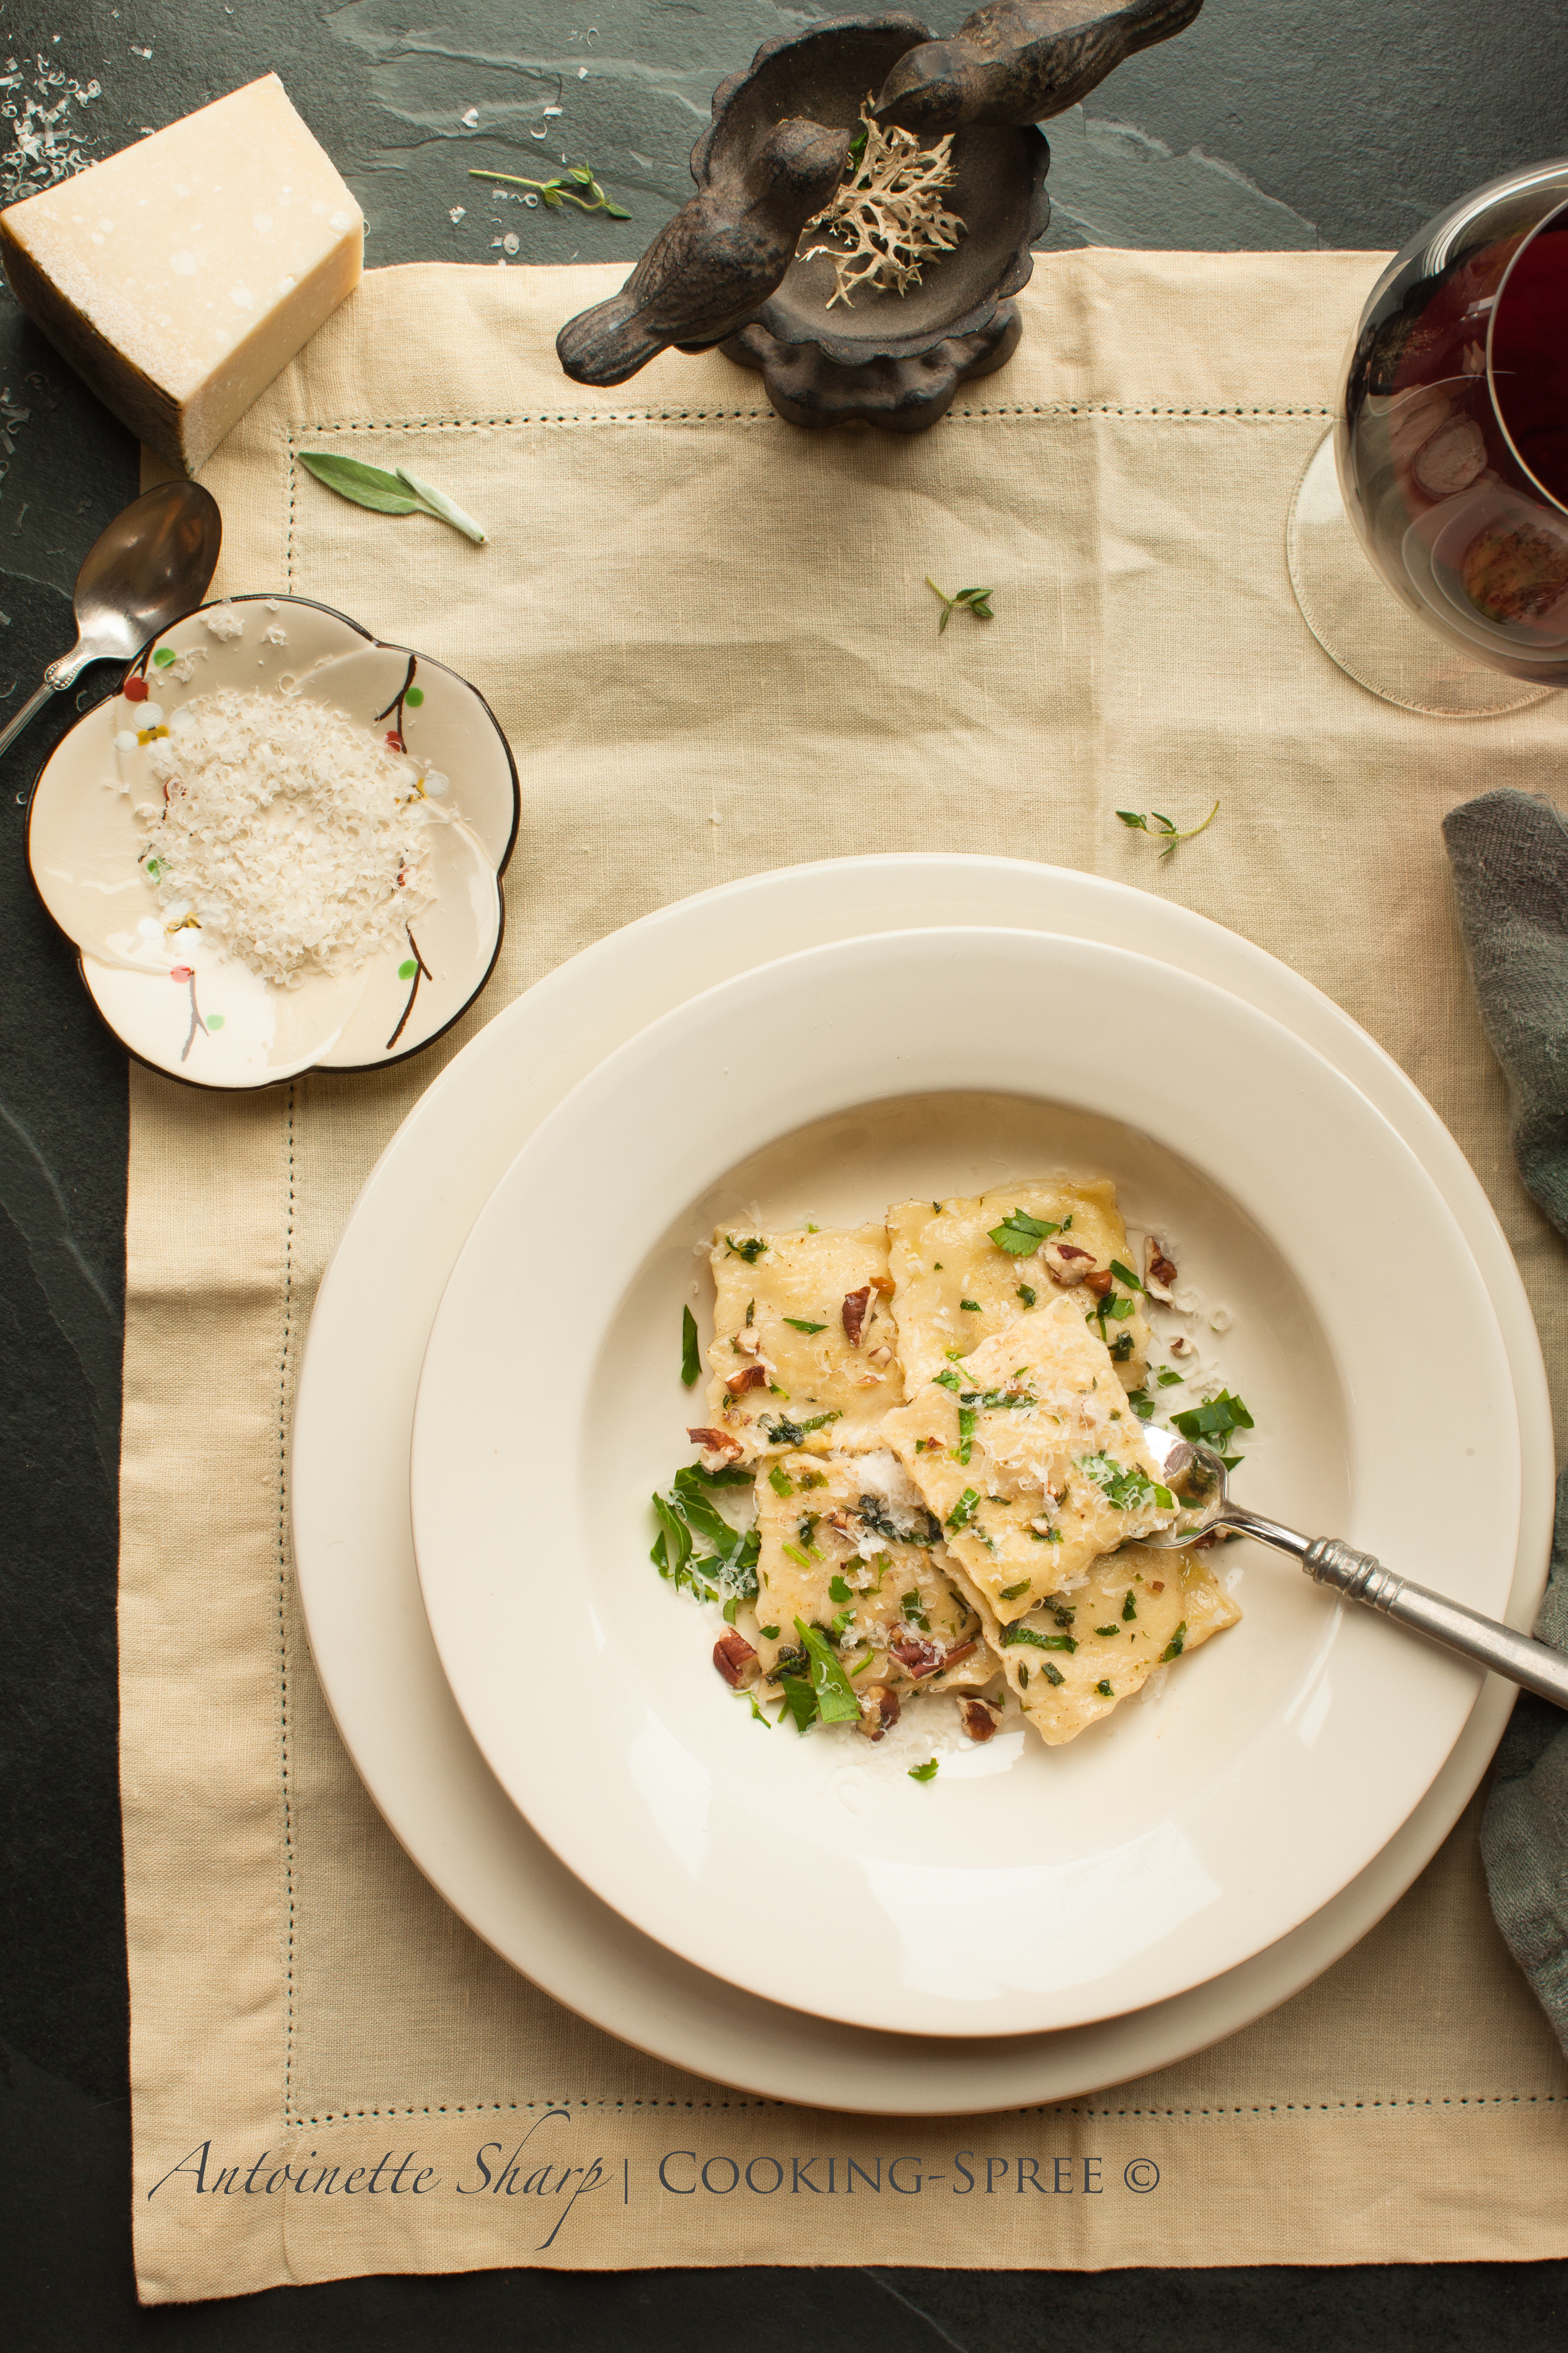
butternut squash ravioli with toasted pecans & sage

Many of you are well-acquainted with the Italian gentleman whose handsome head pops up on many pages around this neighborhood. Always nattily dressed in dark suit and narrow tie, always raising his glass and leaving kind words to cheer us. He’s known to us as Chicago John. And he’s a legend in these parts.

You’ll find John cooking up a delicious Italian storm in the Bartolini Kitchen, every Wednesday.  The smells that rise from his oven and bubbling pots will make you hungry. They’ll make you wish you could pop into his kitchen and pull up a chair and spread your napkin and toast the cook and lift your fork and stay long into the night! They might make you wish you’d grown up Italian, with family recipes handed down, and down again to you. For sure they’ll make you wish you could cook like John does. And that’s where this little journey began for me…

SquashRavioli-1

Only a handful of times in my life have I made pasta from scratch. I should be throttled for that! The man I married (who calls himself my grateful guinea pig and is such a good sport) is an enormous fan of pasta. Wrong word choice…he likes pasta, a Lot. So it was that when I spotted John’s series of posts on pasta – and then – Ravioli! – I knew I’d just discovered the Holy Grail – no question about it – this was D.i.n.n.e.r. – written in the Guinea Pig’s own Language of Love.

Now you understand, I’m not the one to learn pasta making from. No, no. I’d head over to John’s if I were you. Below is the recipe for the Bartolini’s pasta dough. It’s the one I used (Naturally!) I followed his expert guidance on how to roll and what dies to use as a novice raviol-ist. I prayed the rosary (ok, not exactly), asked John for one more encouraging word and then I dove right in. Fearless! (ok, not exactly.)

(You’ll be able to view this recipe better if you click on it.)

SquashRavioli-4

It all went quite well, just like John said it would. I had mechanical issues with my pasta roller and I think I’m tossing it (but not til I’ve found a replacement.)

__________

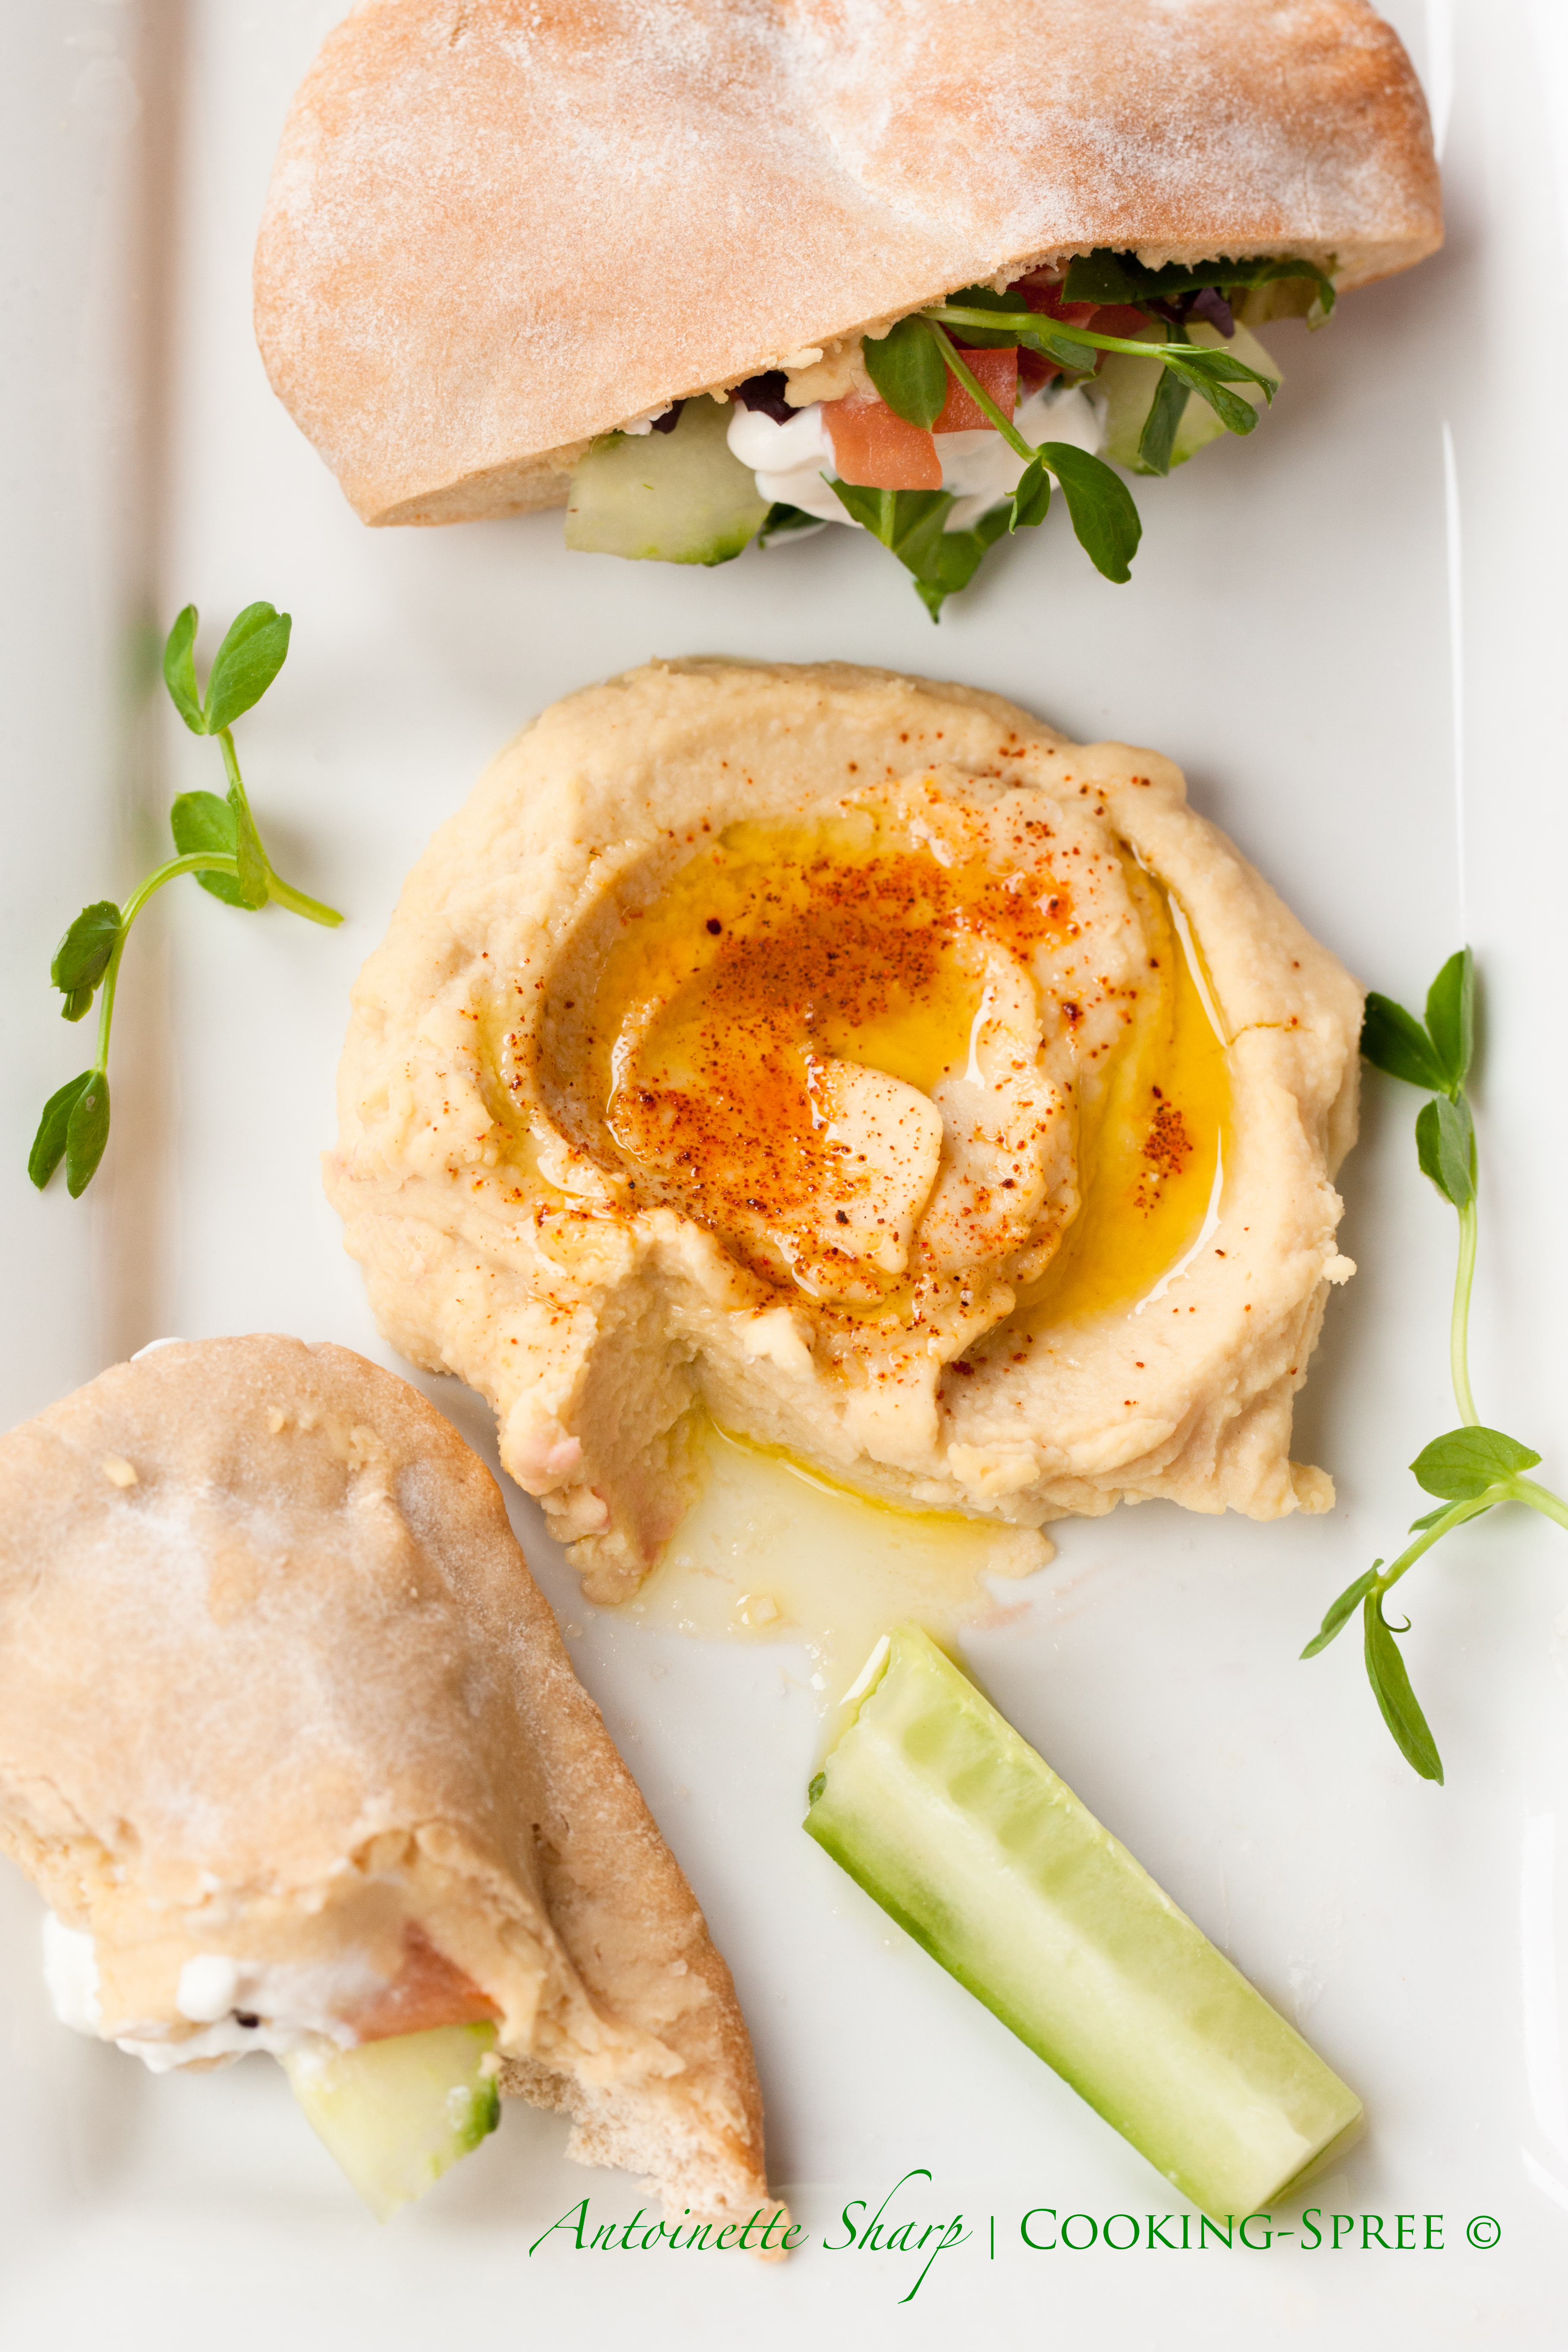
I made a sweet & savory butternut squash filling…

(recipe follows)SquashRavioli-2

Closed those little pillowy parcels up…SquashRavioli-3

Gently boiled them in salted water, drained them and then slid them into a simple sauce of browned butter, garlic & sage, thyme & parsley & toasted pecans. G.P. will probably chime in here and tell you about it, but if he’s still tied up licking fingers, I’ll tell you…

it was pretty fine!

SquashRavioli-12

_____

Butternut Squash Ravioli with Toasted Pecans and Sage

1 butternut squash, about 2 pounds

Vegetable Oil – just a wee bit for brushing squash

 Cayenne Pepper – a Dash

Freshly-grated Nutmeg – (about 5 passes over the grater – to taste)

Salt & Freshly-Ground Black Pepper

Freshly-Grated Parmesan –  ½ cup

dried bread crumbs – ½ cup

_____

Freshly-Made Pasta ala Bartolini (recipe above)

___

Brown Butter with Pecans & Sage

Butter – 4 to 6 Tablespoons, melted

Garlic – 1 medium to large clove

Chopped Fresh Sage Leaves – 2 Tablespoons

Chopped Parsley – 2 Tablespoons (divided)

Chopped Fresh Thyme – 2 teaspoons

Toasted Pecans, ½ cup coarsely chopped

Freshly Grated Parmesan or Pecorino Romano (I prefer the latter here)

Prepare the filling: Preheat the oven to 375°F (190°C) Slice the squash in two, from top to bottom and scoop out the seeds. Brush the cut surface with vegetable oil and place cut-side down on a baking sheet lined with parchment paper or silpat. Bake until soft – about 40 minutes (though begin checking at 30.) Scoop out the flesh and measure 2 cups full. Drop it into a food processor (or mash well with a fork) blending with 2 Tablespoons butter. Season with a dash of cayenne, grated nutmeg, salt and pepper. Season to your own tastes. (It will not need to be fully seasoned with salt since the cheese will bring some of its own.) If the squash seems a bit too liquid-y you can dry it out by dropping it into a skillet on high heat for a few moment. Add bread crumbs and cheese. Set aside.

Read more

Hummus – stuffing our pockets

Hummus was one of the first things I learned to make as a 20-something year old bent on eating well, while not making life difficult on relatives of cows I’d grown to love as a girl. The hummus of those days has morphed a number of times over, as we ourselves tend to do.

Back then I used canned chickpeas. I prefer to cook my own these days, but I’d much rather use canned chickpeas than face the dreadful plight of hummus-lessness when the mood for hummus-in-a-hurry strikes. I’m not at all a fanatic about cooking my own and  always have canned chickpeas on hand. BUT, I do think home-cooked beans are noticably better-textured and flavored and if you want to consider giving it a gohere are some reasons why you might consider it too –

You’ll cook them with no preservatives, no gross amounts of salt in the canning liquid – (though not all canned beans come loaded this way.) You can use some of your own cooking liquid to puree in with the beans. (Much better than plain water.) I won’t use the liquid if they’re canned. A batch of your own fresh-cooked chickpeas is a fraction of the cost of canned. There’s less to throw away (or recycle.) And then, there’s the taste.

One of the changes to my hummus has come about quite recently – only since developing a mad crush on Ottolenghi (I mean, his recipes!) It would seem that the skins of the chickpeas, even when the beans are cooked to softness, retain a bit of their toughness unless measures are taken to further soften them. Ottolenghi adds baking soda to both the soaking water, and then again to the cooking pot. This addition and sufficient cooking time are  probably THE keys to THE creamiest, most velvety hummus your mouth will ever taste. I’d like to compare it to ambrosia’s savory cousin, but having never tasted ambrosia…Anyway…

Another measure which I’ve read about recently – in several places – seems awfully tedious at first. – but perhaps especially in the case when canned beans are used, worth the extra effort. You squeeze each and every little chickpea between thumb and forefinger, easily slipping them out of their filmy skins. This happens all the more easily with the addition of baking soda to the cooking water. (It’s as if they were itching to shed them, and you came along, right place, right time.) What’s left, once these naked beans are pureed with garlic and fresh lemon juice and tahini (the “butter” of sesame seeds”) is exquisitely smooth.

________________

The pita-pocket sandwich is just about whatever you’d like it to be. What I’d like it to be goes something like this:

Home-baked pita, sliced in half. A good slathering of lemony hummus, topped with thinly-sliced tomatoes and English cucumbers (the kind with the very small seeds); perhaps some sprouts or pea-shoots or micro-greens; maybe some delicate leaves of Spring lettuce, or any other lettuce shredded; perhaps some shredded carrot; a little feta; thin slices of red onion; perhaps some marinated & grilled kabobs of fish or chicken (or you decide); definitely some Greek-style yogurt or tzatziki. And maybe an extra drizzle of olive oil. And because each half is fairly small and because life comes with SO many choices, and choosing is sometimes very hard, make them every which way.

PitaHummus-3

But DO start with the hummus:

PitaHummus-2

The Hummus

_______

1¼ cups dried chickpeas, soaked in cold water overnight (See NOTE)

1½ teaspoon bicarbonate of soda (baking soda)

Juice of 2 to 2½ lemons, or to taste

2 or 3 cloves garlic, crushed

salt to taste

4 – 5 Tablespoons tahini (sesame paste)

a pinch (or several) of ground cumin

extra virgin olive oil

_____

OPTIONAL: see below for optional garnishes & serving suggestions

Hummus becomes a personal thing over the years. You find what you like – more garlicky or lemony, or less? – more tahini, less tahini? – more herbs or none at all? It pays to taste a little as you go. Taste your tahini before you start. Is it bitter? Then go with far less than what’s shown above. (I ruined a batch once with tahini far different than what I was used to.) Add most of the lemon and 2 cloves of garlic to start. It won’t be the right consistency yet, but Taste. If it’s tasting about right, don’t add the rest until closer to the end if at all. You’ll develop your own perfect proportions. With that out of the way, here’s the method –

NOTE: 1¼ cups dried chickpeas will equal about 3¾ cups cooked – if you use canned chickpeas you can give them a little extra cooking time in fresh water to soften them further, and then if you like, remove the skins from them as well.

_____

Read more